


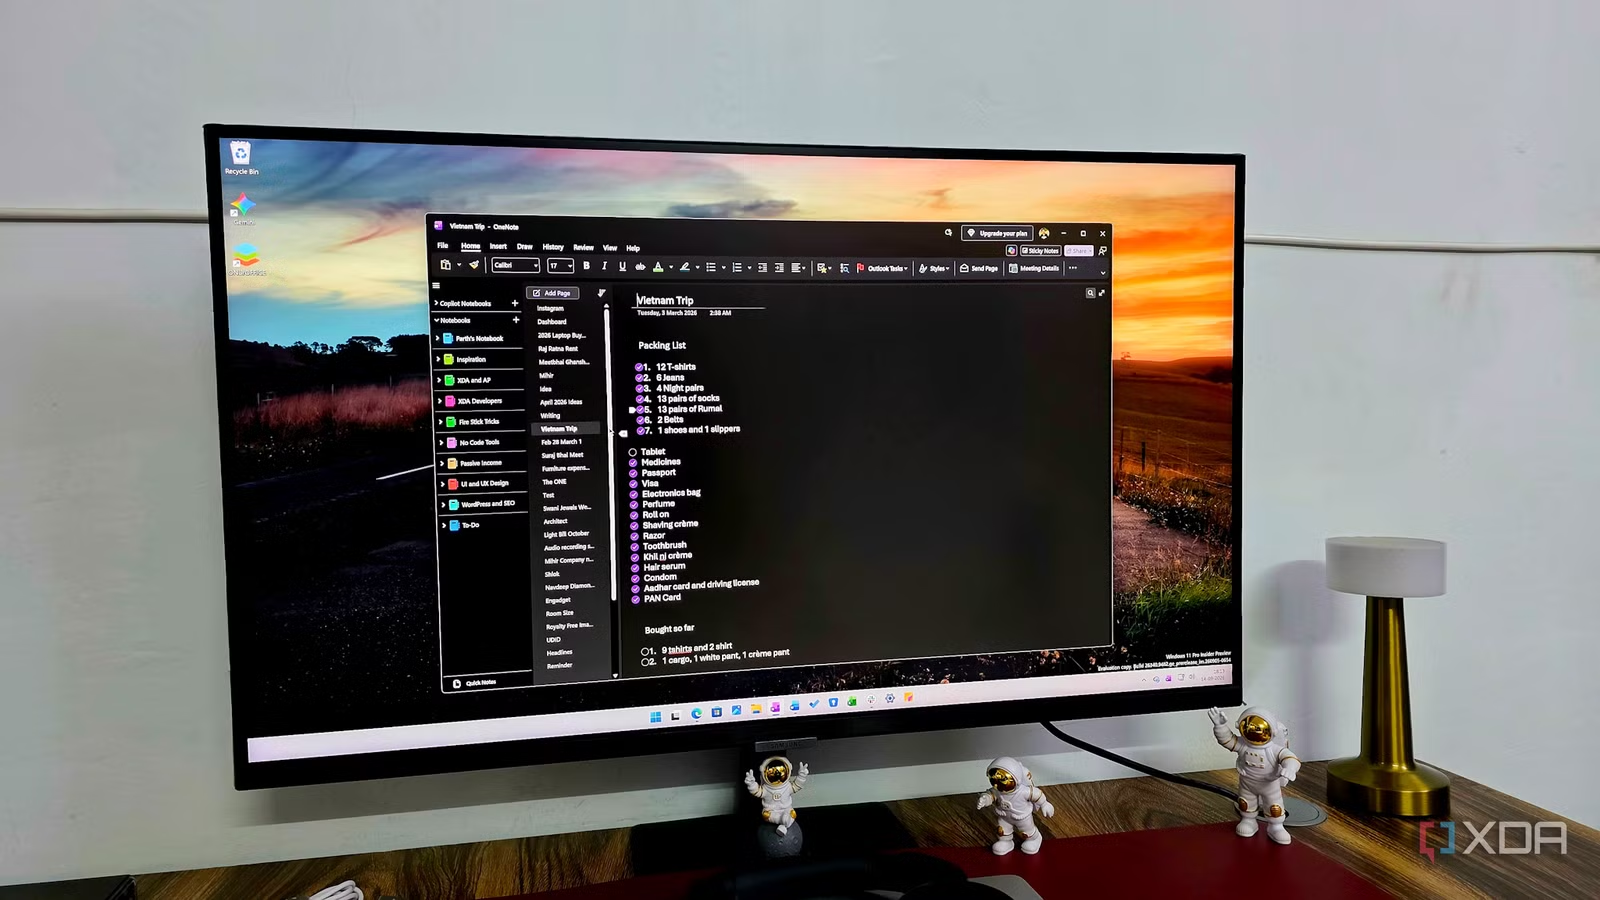
Being a power OneNote user for years, I thought I already knew it inside out. I had my notebooks neatly organized, relied on them for work notes, ideas, research, and random thoughts, and rarely bothered digging through their settings.
That turned out to be a mistake. OneNote hides several useful options that can change how the app feels and works day-to-day. After tweaking a handful of them, I ended up with a cleaner interface, fewer distractions, and a productive workflow.
Related
5 free apps to manage and sync your notes across devices
Keep your thoughts organized
Disable note containers on pages
I finally got rid of those distracting boxes
OneNote’s freeform canvas is one of its biggest strengths, but I never liked how note containers constantly appeared around my text. Every time I clicked into a paragraph, OneNote would show the box around it along with the little controls at the top. It wasn’t a deal-breaker, so I simply put up with it for years.
Buried under File -> Options -> Display is a setting called Show note containers on pages. Turning it off instantly made my pages look cleaner and far less distracting. The best part is that I don’t lose OneNote’s flexible canvas.
I can still click anywhere, type wherever I want, and move content around when needed. The containers are still there in the background; OneNote just stops constantly showing their outlines.
It’s a small visual tweak, but it made my everyday note-taking experience more polished.
Turn double brackets into page links
This shortcut was hiding in plain sight
This one surprised me because I didn’t even have to enable anything. Like Obsidian, OneNote already supports creating page links with double brackets, but I had somehow used the app for years without knowing about it.
All I need to do is type a page name inside [[double brackets]], and OneNote automatically turns it into a link. It’s such a simple trick, but it has changed how I connect related notes.
For example, while working on an Android Auto article, I might type [[Android Auto testing]] inside my research page. OneNote instantly links that text to my existing Android Auto testing page, so I can jump between related notes without digging through notebooks and sections. If the page doesn’t exist yet, I can use the same approach to start building it.
I now use this constantly for projects, research, and recurring topics. I only wish I had discovered it years ago.
Switch to vertical tabs on OneNote
Cleaning up my navigation
I used OneNote with the traditional horizontal tabs simply because that was the layout I was used to. It worked fine when my notebooks were small, but as I added more sections and sub-sections for work, research, personal notes, and ongoing projects, the top bar started to feel cramped.
I was constantly scanning across tabs or opening menus just to find the section I needed.
Switching to vertical tabs changed that. With notebooks, sections, and pages arranged down the left side, OneNote now feels much easier to navigate, especially on my larger desktop display. I can see far more of my structure at once and jump between sections without hunting around.
Related
I chose the perfect note-taking app for my work style, and here’s how you can too
Don’t make the wrong choice
Lock password-protected sections as soon as I leave them
My private notes lock instantly now
I use password-protected sections in OneNote for notes that I don’t want sitting openly on the screen. What I didn’t realize was that OneNote’s default behavior can leave an unlocked protected section accessible for a few minutes after I move away from it.
The default auto-lock period is five minutes, and that feels a little too long once I notice it. I eventually found the option (under File -> Options -> Advanced -> Password) to lock password-protected sections as soon as I navigate away from them, and I enabled it immediately.
Now, the moment I leave a protected section and switch to another page or notebook, OneNote locks it again automatically. It gives me much more confidence when I am using OneNote on the desktop around other people.
My notes are easier to scan now
I have used OneNote’s built-in tags like Important, Question, and To Do for years, but I somehow overlooked the fact that I could create my own. Once I started using custom tags, they became a much better fit for the way I actually organize my work.
For example, when I am researching an article, I can create tags such as Article Idea, Research, or Follow Up instead of trying to make OneNote’s default options work for everything.
I can even assign a symbol, font color, and highlight color to each custom tag, which makes important information much easier to spot when I am scanning a long research page.
The real advantage comes when my notebooks start getting crowded. I can use Find Tags to pull tagged items together instead of manually searching through individual pages.
I was barely using OneNote properly
None of these OneNote settings reinvent the app, but together, they have made a noticeable difference to how I use it every day. I was surprised that several of these features had been sitting there for years while I continued using OneNote the same old way.