


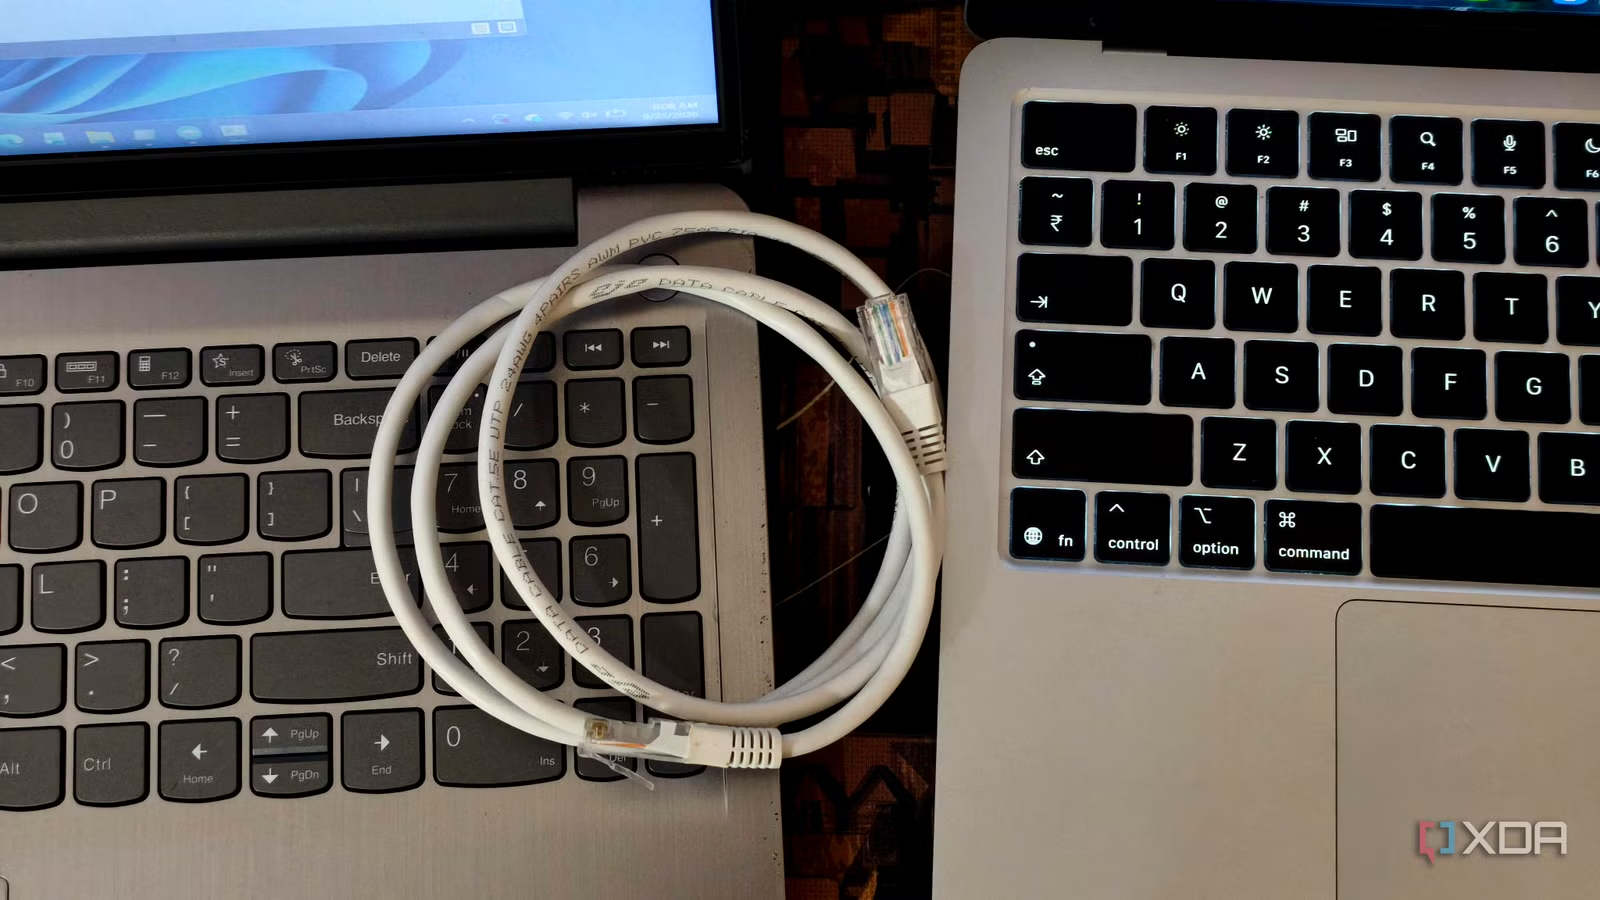
I had almost 1TB of data to move between two Windows laptops. As it happened, it was only data from my media server, so I was in no hurry. I decided to do the transfer without involving my NAS, cloud storage, or a USB drive. Even if I had wanted to use cloud storage, I couldn’t have because I don’t have a 1TB plan.
I used the Ethernet ports on both laptops, connected them with a regular cable, and used Windows file sharing to transfer everything directly. You need to change a few network settings here and there, but I didn’t need to buy anything or send my data over the internet.
I already had everything I needed
An Ethernet cable and full-size Ethernet ports are all you need
Both of my laptops have full-size Ethernet ports, which makes the hardware side of this transfer pretty straightforward. I didn’t need a router or a network switch between them. Connecting the two ports directly creates a small local network, and Windows can use that connection for file sharing just as it would on a regular home network.
The transfer speed really depends on the Ethernet ports in both computers. If one laptop supports gigabit Ethernet and the other is limited to 100Mbps, the connection runs at 100Mbps. For context, a gigabit connection has a limit of 125MB/s, but the actual file-copy speed is lower because of network overhead and the drives inside both computers. It also depends on what you are transferring. For example, a folder with thousands of small files will transfer more slowly than a few large videos.
You can check the negotiated speed in Windows by opening Task Manager, going to the Performance tab, and selecting Ethernet. PowerShell also shows it with the following command. This is worth checking before moving hundreds of GBs. If Windows reports 100Mbps when both laptops have gigabit ports, the cable or one of the network adapters is limiting the connection. At gigabit speed, though, transferring 1TB over Ethernet is perfectly practical.
Related
I finally fixed my Ethernet stuck at 100Mbps with a decade-old SSD trick
Who knew messing with my SSD partition would fix my Ethernet?
Setting up the direct connection in Windows
You need to tweak a few settings
Plugging in the Ethernet cable only establishes the physical connection. I gave both laptops a static IP address so they could communicate with each other. To do the same, enter ncpa.cpl in the Run dialog and open the properties for the Ethernet adapter. From there, select Internet Protocol Version 4 (TCP/IPv4) and enter 192.168.50.1 on the laptop holding the files. I used 192.168.50.2 on the receiving laptop and set the subnet mask to 255.255.255.0 on both.
Windows also treats new networks as public by default, which prevents other computers from discovering the machine. I had to change the Ethernet connection to a private network and enable network discovery and file and printer sharing. The final step is sharing the folder that contains the files. Before you can do that, open the folder’s properties, go to Sharing > Advanced Sharing, and enable Share this folder.
With the folder shared, open File Explorer on the second laptop and enter \\192.168.50.1\Transfer. I gave the shared folder “Transfer” as its share name, so this part will differ depending on what you call your folder. Windows will also ask for the username and password of the source laptop before opening it. Once authenticated, the shared folder appears in File Explorer like any other folder.
I used Robocopy for the actual transfer
It’s just more convenient
I could’ve dragged the shared folder into File Explorer and waited for Windows to finish copying it. That’s fine for a few gigabytes, but I didn’t want to trust a regular copy window with nearly 1TB of data. If the connection dropped or either laptop restarted, figuring out what had transferred and what hadn’t would be annoying.
I used Robocopy instead, which is already included with Windows and handles large transfers much better. It can resume interrupted copies, retry failed files, use multiple threads, and create a log showing exactly what happened. If you decide to use it well, open PowerShell on the receiving laptop and run the following command:
robocopy “\\192.168.50.1\Transfer” “D:\Transferred Files” /E /Z /J /MT:16 /R:2 /W:2 /LOG:”C:\transfer-log.txt”
The first path points to the shared folder on the source laptop, and the second is the local destination. /E copies every subfolder, including empty ones, and /Z makes the transfer restartable. /J uses unbuffered I/O, which is useful for large files, while /MT:16 lets Robocopy process up to 16 files at once. I also limited failed copies to two retries with a two-second wait.
I was getting 100MB/s after accounting for protocol overhead, and transferring 1TB took close to three hours. As I mentioned above, the actual time depends heavily on the storage in both laptops. For example, SSDs have no trouble keeping up with Gigabit Ethernet, but a hard drive can slow things down.
I’d use this method again
Direct Ethernet isn’t the fastest way to move 1TB, especially if you already have a fast external SSD. That didn’t matter in my case because I was only moving media server data and wasn’t in a hurry. I wouldn’t set this up for a small file transfer, but it makes sense when you have hundreds of gigabytes to move between two Windows PCs. Both laptops already had the required ports, and the only other thing I needed was an Ethernet cable.
Related
I fixed my unreliable Wi-Fi without replacing my router
Less Wi-Fi traffic, fewer headaches.