


Summary
- I cut noise without spending a dime by undervolting GPU and CPU, keeping performance intact.
- I deep-cleaned and calibrated fans; airflow improved and fans idled much quieter.
- I tuned fan curves and BIOS fan-step/hysteresis for calmer fans, no new parts needed.
Gaming PCs tend to have a reputation for sounding like they could lift off any second, and for the longest time, I assumed that was simply the price of pushing modern hardware. The obvious solution here has always seemed to involve spending money on quieter fans, a bigger CPU cooler, or even a new case that allows more airflow. Spending money, however, wasn’t on the table, considering my NZXT H9 Flow already has ten fans in it, including the three on the AIO cooler.
As such, I dedicated a single weekend to seeing how much noise I could eliminate using nothing more than settings, maintenance, and a hint of patience. By Sunday evening, my PC did indeed become noticeably quieter during everyday use as well as gaming, and I didn’t have to sacrifice a single frame per second, or spend a single dollar there.
Related
7 things you might still be doing wrong on your gaming PC
You might be unknowingly hurting your PC’s performance
GPU undervolting made my already quiet GPU even quieter
The Nvidia App got me started, and MSI Afterburner let me fine-tune it
My RTX 4070 Ti has never really been the noisy component in my PC to begin with. Gigabyte gave the original AERO OC model a rather oversized WINDFORCE cooler with enough thermal headroom that the fans barely break a sweat, even with the factory overclock enabled from day one. Thankfully, this meant that I didn’t have to chase huge temperature drops or any dramatic noise reductions, and instead, it was just a little more efficiency I needed.
I started with the Nvidia App’s one-click undervolt, which turned out to be pretty effective for just how effortless it was. Of course, that’s where the rabbit hole began — before I knew it, I’d moved over to MSI Afterburner to manually tune the voltage-frequency curve. I didn’t push the voltage much lower than Nvidia’s own recommendation, since I’d learned the hard way that chasing the absolute lowest voltage usually ends in random crashes.
The payoff wasn’t all that dramatic, but I still managed to get the power draw to drop down a little further, along with the temperatures. The GPU fans spent even more time spinning slowly, or not at all. Considering the card was already whisper-quiet, that was a win I’ll happily take.
Related
I let the NVIDIA App overclock my GPU, and it left me impressed
For a “conservative” OC tool, the NVIDIA App gave me remarkable results
CPU undervolting was only half the solution
Lower voltages helped at idle, but not while gaming
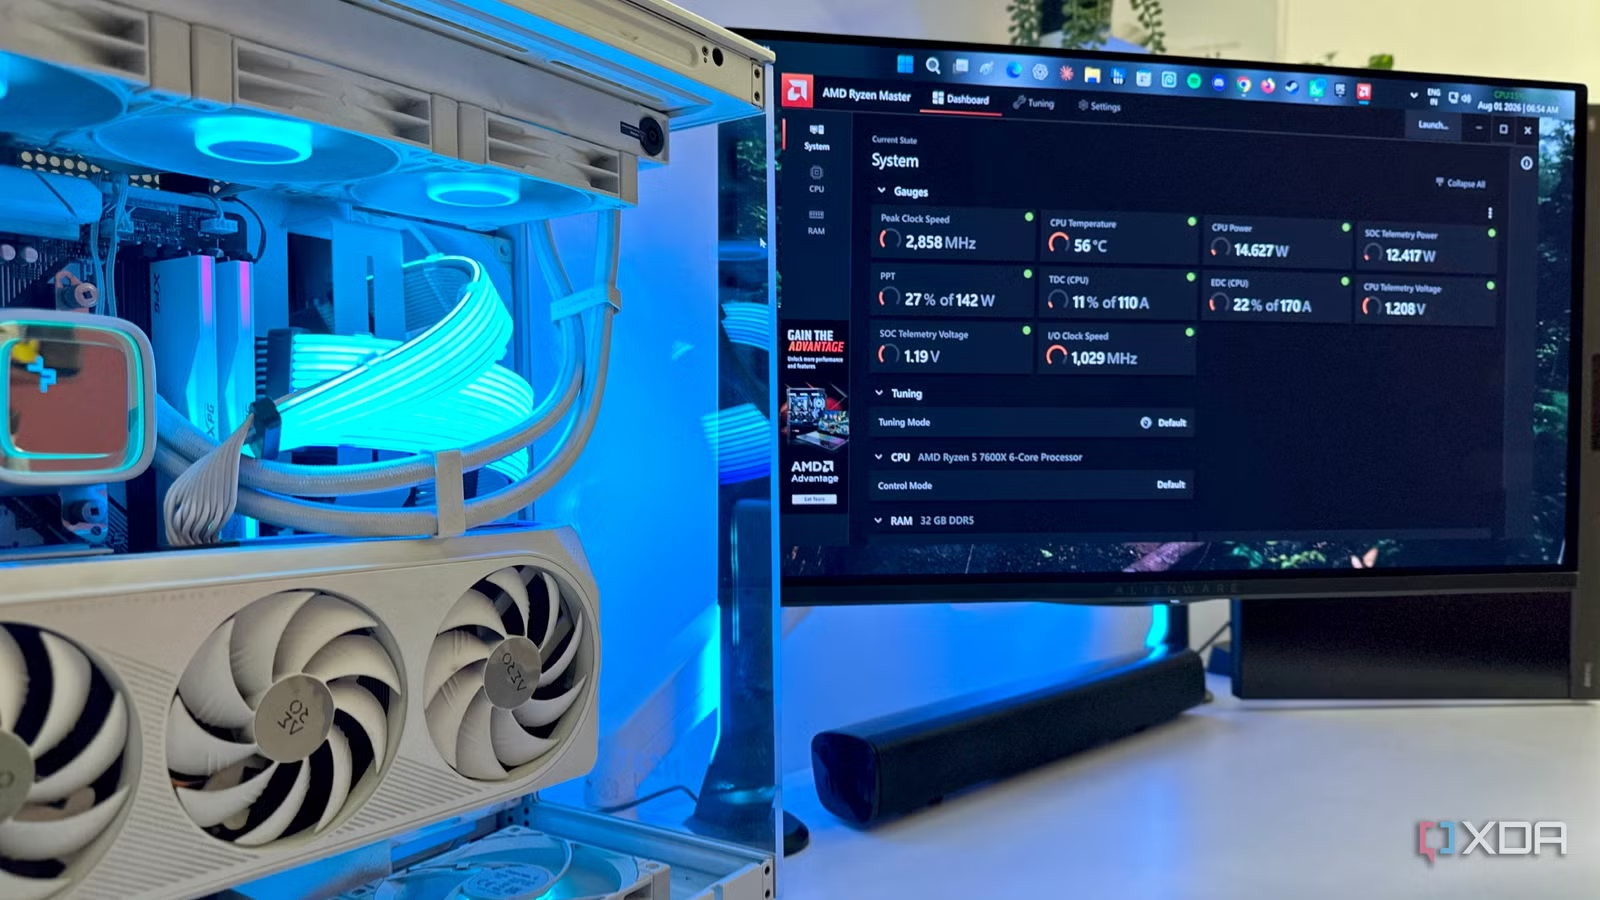
I’ve always known that I had cheaped out just a tiny bit when I bought a DeepCool LS720 AIO when I built my gaming rig. Almost three years later, it’s easily the loudest component on my PC, with its three radiator fans (500 – 2250 RPM) generating 30 dB(A) every time I run a game, or even at tiny temperature spikes. Naturally, undervolting my Ryzen 5 7600X was the obvious first step, and it did immediately make a difference during everyday use by keeping idle temperatures lower and reducing those unnecessary fan surges.
Software tweaks could only get me so far, so I headed into the BIOS after undervolting my CPU.
Sadly, gaming remained the same old story. The moment CPU utilization climbed, the LS720 would ramp up almost immediately, just as aggressively as before. The lower voltage did help, but it didn’t fundamentally change how the cooler responded once temperatures started rising under sustained load.
It was pretty apparent that software tweaks would only get me so far, so I headed into the BIOS instead, where finer control over the CPU and fan behavior ultimately made a much bigger difference.
A proper deep clean was long overdue
Dust was quietly undoing everything my fans were trying to achieve
I clean my PC fairly regularly, but this time I decided to go much further than just wiping the tempered glass and blowing a little dust off the fans. I hauled the entire case outside, removed every dust filter, used an electric air blower to clear out the heatsinks, radiator, GPU, and every corner that had become a magnet for dust over the past year.
With the loose debris out, I vacuumed the filters separately before putting everything back together. The amount of dust hiding where I couldn’t see it was genuinely embarrassing. The improvement wasn’t all that dramatic in terms of temperatures, but airflow did feel noticeably less restricted. The immediate result was the fans just being a little quieter at boot, as the startup apps began running in the background and the PC remained idle. It’s probably the least exciting tweak on this list, but it’s also the easiest one to recommend.
Related
My AIO failed constantly until I switched to a tower cooler and learned the real difference
Less hassle, more cooling
Tweaking my BIOS fan response made the biggest difference
This was the first time I tried BIOS fan hysteresis
Undervolting my CPU made my DeepCool LS720 triple-fan AIO liquid cooler a little quieter at idle, but I was still dealing with an annoying problem during normal gaming use. In fact, even opening a browser, launching Steam, or installing an app kept pushing my CPU temps high enough for the radiator fans to ramp up. They would settle back down a few seconds later, yes, but the constant rise and fall in fan speed is genuinely distracting.
My MSI B650M Gaming Wi-Fi motherboard doesn’t have a dedicated fan hysteresis setting, but it does come with Fan Step Up and Fan Step Down controls, which basically accomplish the same thing. Fan hysteresis is a built-in delay which stops your PC fans from overreacting, so to speak. Normally, the moment your CPU touches a certain temperature, the fans speed up, and the instant it drops back down, they slow down again.
This can get pretty annoying during everyday use when merely opening an app and closing it a few seconds later can cause a roller coaster of sounds as the fans rev up and down. Fan hysteresis lets you set a smart delay or temperature gap, telling your motherboard to wait a few seconds before changing the fan speed, making sure that the temperature change is actually sustained. That’s what made my PC sound a lot calmer without running any hotter.
Related
3 myths about AIO coolers always being better than air coolers
AIOs have weaknesses too
Fan calibration made my custom fan curves actually work
I finally used fan tuning in my BIOS
After dialing in my fan curves, I figured I was done. Then, I came across the fan calibration tool tucked away inside my motherboard’s Hardware Monitor, and I realized that there was more fan tuning to be done inside the BIOS on top of hysteresis. Running fan calibration made the motherboard cycle every single connected fan through its full speed range, allowing it to detect the minimum and maximum RPM each one could reliably sustain. This is what gave my custom fan curves a much more accurate baseline to work with.
Fan tuning in your motherboard’s BIOS settings can come with many names. Check your motherboard model and if it has an equivalent to Q-Fan tuning in the BIOS.
The difference wasn’t as obvious as undervolting or adjusting the fan hysteresis numbers, but it was noticeable nevertheless. My fans could now idle at lower speeds without randomly stopping or ramping back up, and transitions between RPM levels felt much smoother.
Related
5 things PC gamers spend more time on than actually gaming on their PC
Don’t be afraid to raise your hand — this is a safe space
A quieter PC is often just a smarter one, not a pricier one
It’s easy to want to throw money at your PC case when it gets annoyingly loud — new fans, a better cooler, a needlessly-expensive thermal paste replacement, and maybe even a bigger, better case. My weekend efforts to quieten my PC reminded me that, more often than not, the hardware is doing exactly what we’ve told it to do. The configuration behind that hardware could very well be the real culprit.