

A phone’s display is the only way to interact with it, and when it fails, the device becomes unusable. I’m sure you have a couple of Android smartphones in your drawer with unresponsive displays. The primary reason they’re collecting dust in a drawer is that it’s impossible to do anything with them. One of my mum’s old Android smartphones, a Samsung device that she used solely for watching YouTube videos and playing music, suffered massive screen damage.
The damage wasn’t physical, and the screen probably failed from prolonged use. However, I was now stuck with a spare phone with a barely working screen. I had read about converting the phone into a home server, but I never tried it. I tend to rely on my SBCs and old laptops for such tasks. Turning my old phone on had a lot more challenges than I expected, but I got it working in the end.
A barely responsive screen is a challenge
Getting ADB to work isn’t easy
Most tutorials you’ll find online assume your phone is in working condition. It’s more of converting a discarded device into a server approach rather than trying your hand at a phone that doesn’t function properly. I had a hard time because the phone’s screen turned purple, had a ton of grid lines, and wouldn’t respond properly to touch inputs. Tapping on one button wouldn’t always lead to the same action, and that was a huge problem for me.
I had replaced the original display with a cheap one from a repair shop, and when it faltered, it became a problem. If you want to convert your phone into a server, you’ll need an app like Termux. On a properly working screen, it’s not a huge deal. You install it, run commands, and slowly build a server. But my phone’s screen couldn’t handle that. Even if I could install Termux, typing commands and even seeing errors in the terminal wasn’t easy.
Related
I replaced my Raspberry Pi with an old phone, and it handled everything I threw at it
Raspberry Pi is no longer the best hardware for tinkerers.
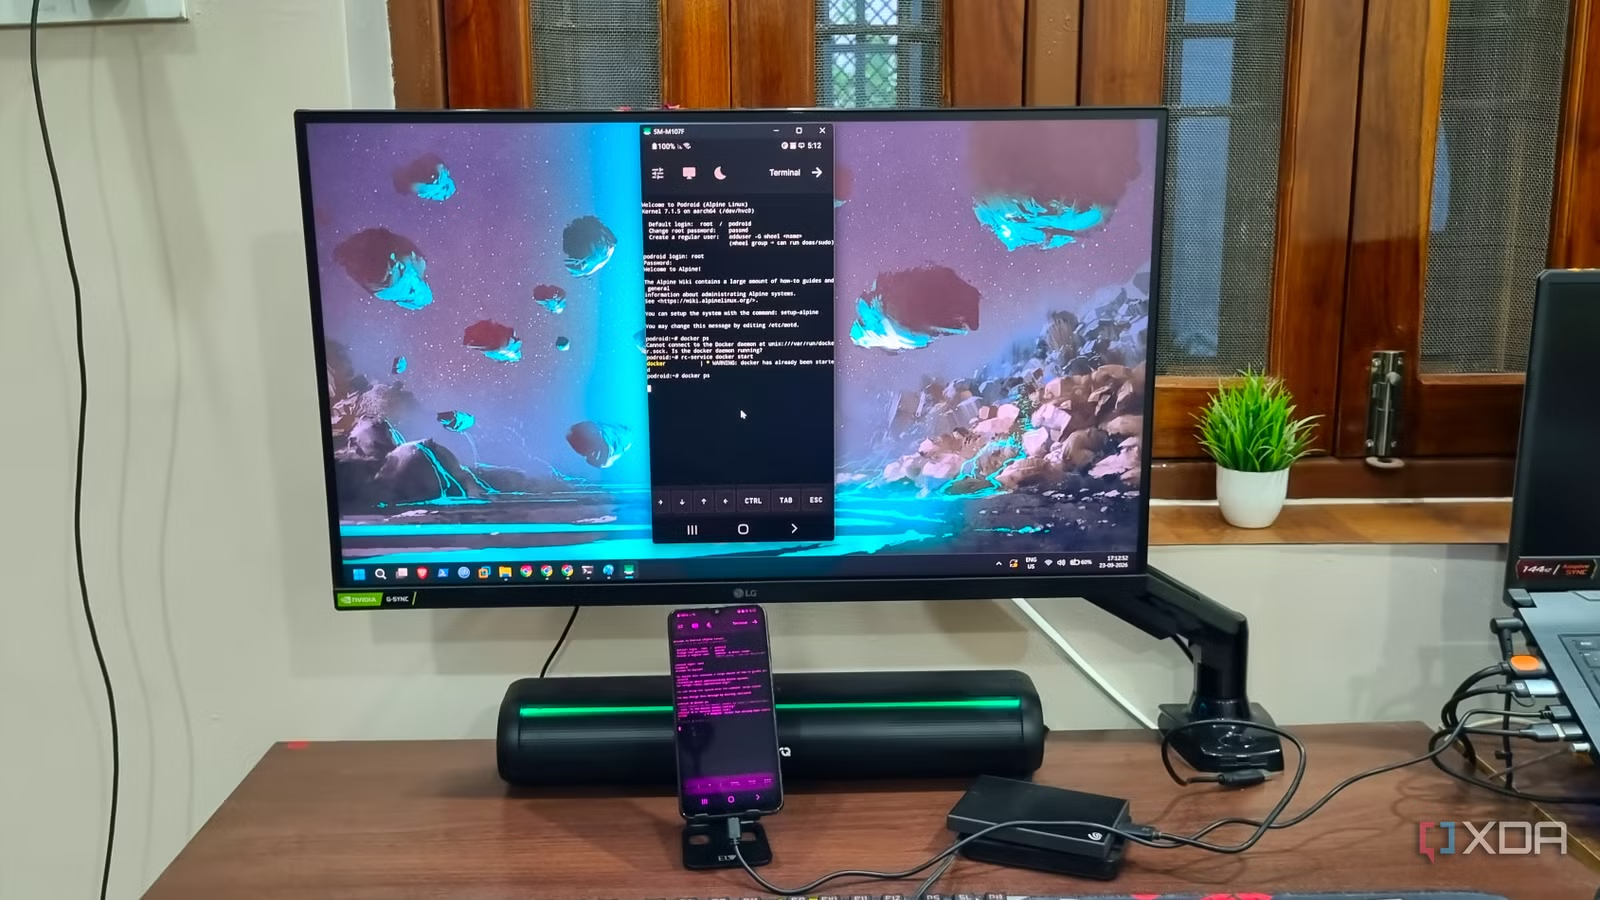
So, the next option was to use ADB to issue commands and control the phone without using the screen. I stumbled onto another great tool that could cast my phone’s screen via ADB to my computer, and that made everything much easier. I connected my mouse via an OTG adapter, opened the phone settings, and scrolled through multiple, barely readable menus. I finally enabled the USB debugging option. I’ve learned the benefits of keeping USB debugging enabled the hard way. Whenever your phone screen falters or shows any warning signs, it’s the first setting you should enable.
Moving personal files and freeing up space
ADB is a great tool, but you have to deal with commands, and not everyone is proficient in it. If there were a better way to interact with the phone’s UI directly, the whole process would be faster. I found scrcpy, a tool that uses ADB to mirror Android devices (video and audio), and it was extremely helpful in this project. You only need to download and extract the package and run the scrcpy tool with a few flags to make everything work. The tool includes ADB files, and you don’t need to download them separately. My phone had a lot of personal files, mostly images and videos, and I moved them to my PC with USB file transfer.
Related
How to install ADB on Windows, macOS, and Linux
A step-by-step guide to get you started with the Android Debug Bridge tool.
Then I accessed the phone UI with scrcpy, and it was pretty seamless in wired mode. I used my mouse to enable a few more phone settings, and then decided to remove installed apps and bloatware from it. Doing so via the phone UI is impossible, so I closed the connection and used the Universal Android Debloater, another ADB-focused tool, to remove most of the clutter. I was able to free up 14GB, and that was enough to work with any tool to build a server out of it.
I tried Termux at first
But Podroid turned out to be better
Termux is a fairly popular option, and I went with that first. After a quick install, setting up storage permissions, and installing a few essential packages, I finally got it working on the phone. But deploying apps wasn’t that easy, and I ran into a lot of problems and frequent troubleshooting with them. Since I didn’t root the phone, Termux didn’t have all the permissions to work, and getting Docker set up on it wasn’t my cup of tea.
The next best bet was Podroid, which was more convenient than Termux. It boots an Alpine Linux VM through QEMU and then sets up a Docker instance by default. So, I had the base ready and only needed to deploy the containers. I allocated 2GB of memory to Podroid and 4 CPU cores because the phone only has 4GB of memory. The Android system needs about 1–1.5GB to work. It’s one of the main reasons why rooting is essential to get the full server experience for tools like Termux. Since it has to virtualize everything, the performance is slower than a traditional Docker setup on an SBC or old laptop.
Related
I turned my old phone into a device that does something my $300 smart home gadgets can’t
Turns out I haven’t been utilizing my old phone enough.
But it’s still enough for a few lightweight yet useful containers. I deployed OmniTools and BentoPDF, both of which are exceptional client-side tools. They use your system’s hardware resources for tasks and put minimal load on the server. Both of these work nicely, and I was able to convert images and do PDF edits without crashing the entire system. I had to forward the ports so that they were accessible outside the Podroid system.
The phone is useful again
The touch interface might not work, but after a hectic day, I was able to get the server set up. Scrcpy is an underrated tool for mirroring phone screens, and it made the whole process easy. If you ever face a partially working screen, enable USB debugging somehow, and then you can easily mirror the screen. My phone’s hardware isn’t exactly the best for tools like NextCloud or Home Assistant, but lightweight tools like BentoPDF can surely work on it. In the future, I might add a USB-to-Ethernet adapter and then use it as a DNS resolver in a future project.