


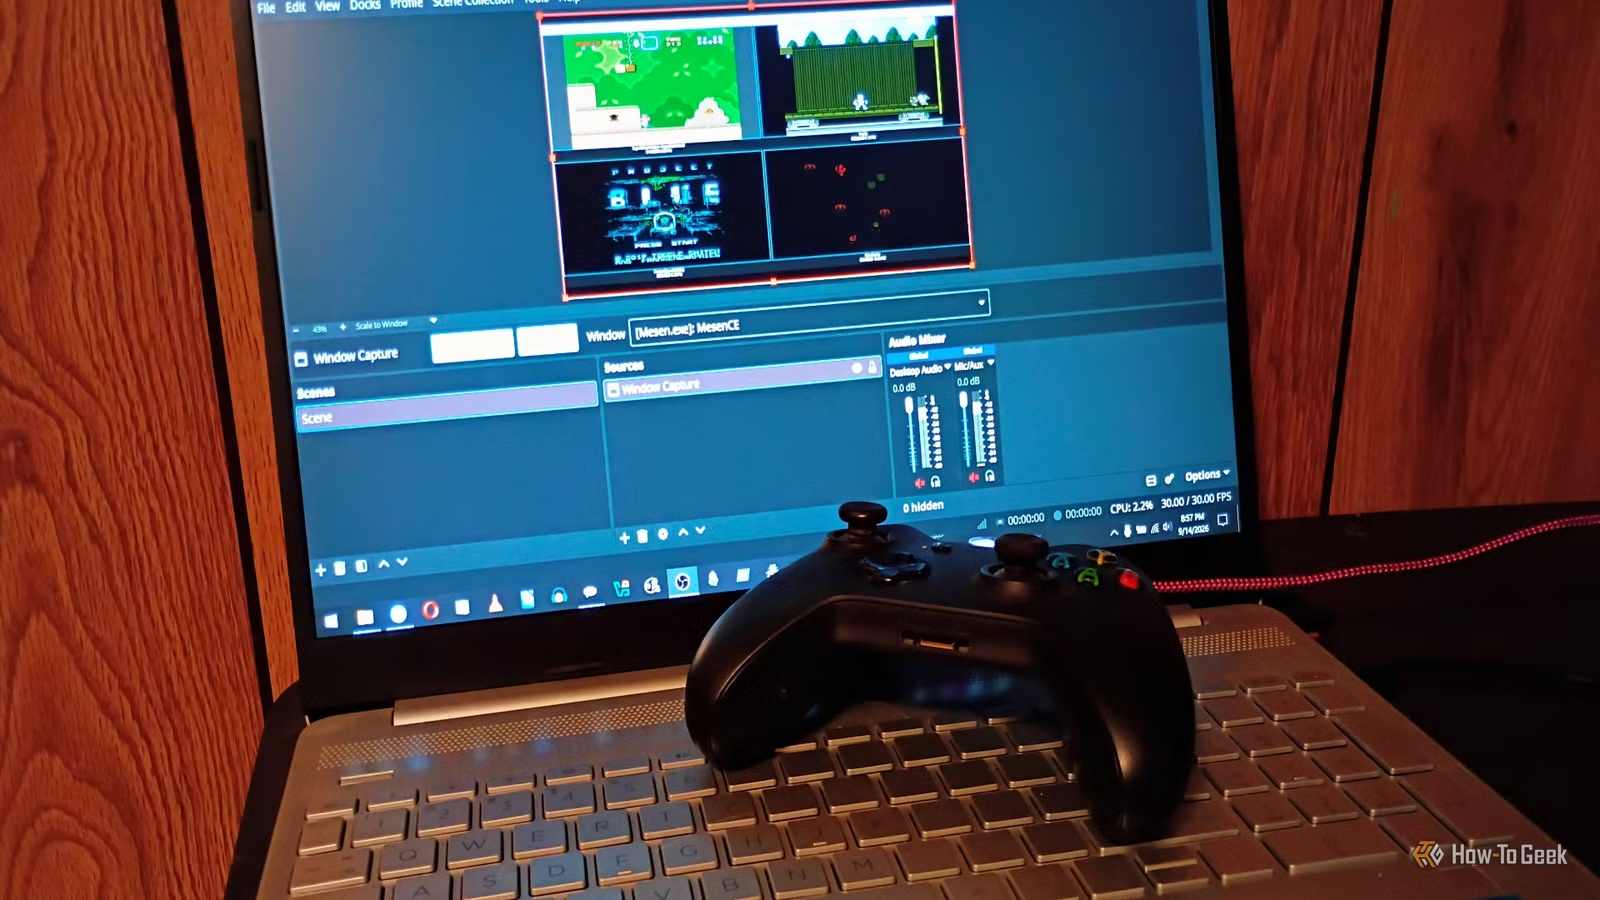
I’m not planning to become a streamer any time soon. But I do enjoy recording retro games and tutorials for my classes. There’s some fascinating technology used in modern streaming and screen recording that I like to mess with. I’ve been using OBS Studio (mostly in default mode) for a long time for my recordings, and I wanted more control. But sometimes, the interface can be a bit complicated for simple things. So I changed a few settings to help me make the most of this powerful software and to find/access them.
Creating a workflow that works for me
I’m using OBS Studio for retro games and tutorials
Since I game on PC and occasionally create tutorials for students/coworkers, I use OBS Studio to record my footage.
When I was a kid, I had this wicked cool VCR. It was huge. The slot where you put in VHS tapes opened upward, like the doors on the Back to the Future car. It made loud whirring sounds. The video quality was awful.
The VCR in question? A Sony SL-5400MD.
I miss that thing. When the VHS era ended, I took it apart to learn how VCRs worked. It didn’t survive. But one of the things I used it for was recording grainy, awful-looking gameplay from my NES, mostly Mega Man 2 and 3.
In those days, I could just run the A/V cables straight from the NES into the VCR. Now, I’d probably use an El Gato. But since I write about and play a lot of older games (I still have the discs!) and newer titles (purchased through Good Old Games or Steam) on my PC, I continue to use OBS Studio.
OBS Studio’s interface does seem a bit complicated at first, but changing a few settings simplifies things quite a bit.
I based these settings tweaks on personal experience, experimenting with the program, and asking my kids about the settings they use. They work wonders for me, but your experience may vary. The OBS community and documentation are very thorough, and they’ll be happy to answer most questions you have about the software.
Start with cleaning up your main interface and setting up key bindings
Simple fixes make things significantly less complicated
Never skimp on the basics. Just as some people prefer different appearance settings on their operating systems, I do the same thing with my apps. I start with customizing my docks (the different controls that make up the bulk of the interface). Go to Docks in the top menu and choose the ones that make the most sense for you. I set up and locked the Scenes, Audio Mixer, and Sources docks. I disabled Controls because I’ll use key bindings to handle those functions.
One of the things that always bugs me about some apps is a complicated interface and not knowing where to find commands. I don’t like navigating menus with a mouse. As a big fan of keyboard shortcuts, I always set up the most convenient key bindings for my workflow. So I set them up, specifically for operational controls.
Go to File -> Settings -> Hotkeys to customize your key bindings. I used Space Bar for starting and stopping recording. I set Z to mute/unmute my mic, X to mute/unmute the desktop audio, and Backspace for pausing/recording, and W to control streams. I went for keys that are easy to remember and close together. Don’t forget to click Apply when you’re done.
Finally, I changed the appearance to the more colorful Rachni theme, increased the font size to 12pt, and set it to comfortable mode so it’s easier on my eyes. Then I moved on to more advanced settings.
Setting up video and scaling
Two important settings that streamline things
I’m not using a gaming PC or something built for capturing video. My GPU is a joke in that context. I mean, I have an Intel Iris Xe graphics card. We’re not expecting 4K here.
I also set the output to Simple mode, an optimized setting for recording most types of video. It’ll get the job done well. Under File -> Settings -> General, I enabled Automatically record when streaming and all three of the “show dialog boxes when…” settings.
You’ll also want to set your scaling output settings. Under File -> Video, set Output (Scaled) and Base (Canvas) settings to the same setting: 1920 × 1080.
There are also two settings I like to set with my capture source. When you actually have a capture source loaded, you can auto-scale it to your canvas. Right-click the capture source and use the Transform menu or shortcuts. Depending on what I’m recording, I’ll either auto-stretch or auto-fit the source to the recording screen. Click the source and use CTRL + F to fit or CTRL + S to stretch (you have to click on the canvas/content though, since it’s the same command used for manual saving outside of that space).
I also right-click and set Scale filtering to Point so it doesn’t blur my 8-bit graphics.
Adjust the output file settings and output mode
A few quick changes make a difference
I used to output videos directly to MP4, but learned a better way is to output to MKV and then remux to MP4. That way, if something happens to the output or video, I can recover it easily, and I won’t end up with a corrupt MP4.
The MKV format (short for Matroska) is a container that holds multiple media data streams (including subtitles, audio, video, and so on). It’s open-source, easily recoverable, and perfect for streaming, but it can get a bit big. It’s a trade-off I’m willing to take. Under Settings -> Advanced, I enabled Auto-Remux to MP4.
There are more advanced settings to play with, but that’s a project for another time.
Get the most out of OBS Studio through customization
Customization and setup make a big difference in OBS Studio, but my best advice is to take time to read through the manual andspend some time playing with the settings. You’d be surprised at how much easier the interface becomes when you tweak a few settings. It worked for me, anyway. Now I can record all the Mega Man and command line examples I like without fussing around with the interface itself.
Related
3 ways to build an Obsidian knowledge base without actually writing notes
Old documents, voice memos, and PDFs can all be part of your Obsidian vault. Here’s how I use plugins to help build my personal knowledge base.